Bone Broth with beef, pork or lamb
It is high time I posted instructions for making broth with beef, pork and lamb bones! In the meantime, I hope that you have tried making broth with chicken bones. Once again, I must quote Katie at Kitchen Stewardship:
“Bone broth is one of the best foods you can feed your body and...it is hands down the easiest nourishing food to make in your kitchen."
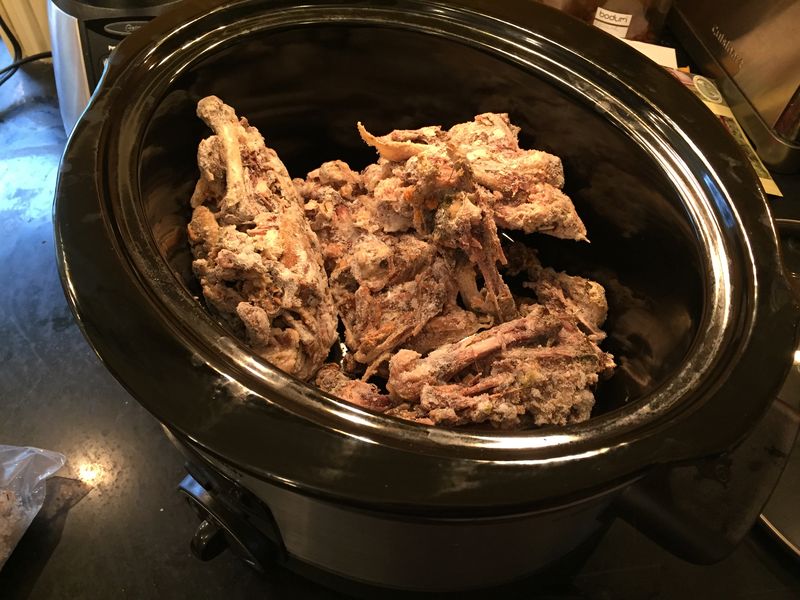
Step 1: Get some bones.
Buy, cook, and eat some nice steaks or chops (or whatever) with bones in them. Then save every scrap (especially joints and other connective tissues) in a ziplock, in the freezer, until you are ready. You may also be able to get bones and joints from your favorite butcher counter or farmer. If you get large pieces like this from your butcher, it is a great idea to ask them to slice them open, to expose the insides for broth-making. Bones you get this way should be roasted for a few minutes before broth-making, to develop some flavor. You can freely mix together bones from beef, pork and lamb, or other red meat.
 These photos are of chicken bones, but you should get the idea.
Step 2: Soak everything.
When you have enough to fill your pot (or you are just ready), dump all of those frozen bones and bits into your stock or crock pot. (If you have some uncooked bones, it is a good idea to roast them first for a few minutes at 350F, just to brown them a bit. Cool before soaking.) Fill your pot with cold water to cover the bones, and add about 1/4 cup of apple cider vinegar. Allow everything to soak for at least an hour. (If your bones were frozen, give it 1.5 to 2 hours.) If you have some cut off ends of veggies, feel free to throw them in, too.
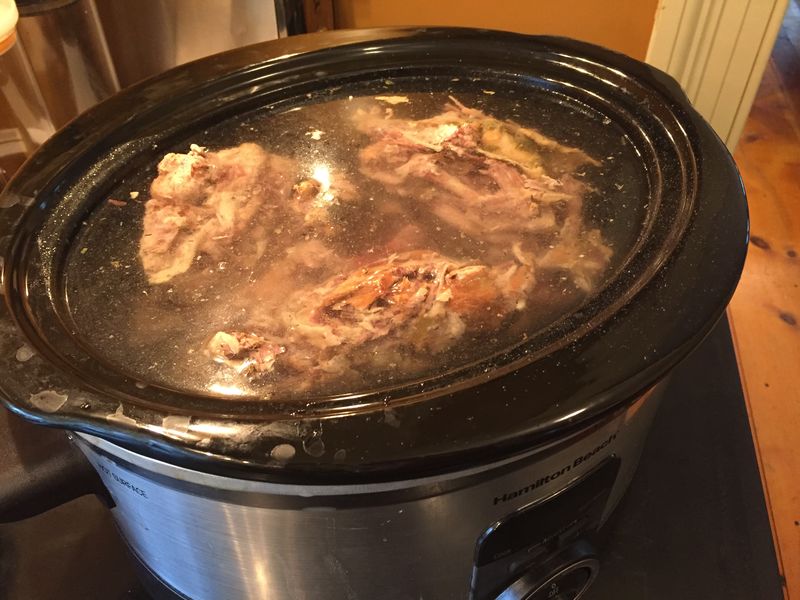
Step 3: Apply heat and time.
You have options here. You can get it started at a rolling boil, and skim off whatever floats to the top, before turning down to simmer. Or you can just set it to low, and walk away. Either way, leave it covered except to periodically skim off fat, foam or anything that looks grey floating on the top. Add water if it seems to be getting low (bones are uncovered). If you are using a crock pot, let it simmer continuously for at least two days. If you are using a stock pot on the stove, you can turn it off at night and restart it in the morning. (It is going to simmer for hours anyway, so no worries.) I’ll admit, beef broth does not smell as awesome as chicken broth when it is simmering, but it is great once it’s done.
Step 4: Cool, strain and store.
After a couple of days (or so), turn off the heat and allow your broth to cool. Strain out the bones and bits. Now you need to strain it through a mesh sieve and portion out into ziplock freezer bags, or other containers. Broth will keep in the fridge for at least a couple of days, or freeze for longer storage. I like to strain the whole business at once into a large bowl, and then dip out 1, 1.5 or 2 cup portions with a measuring cup. I pour cooled broth into ziplock bags, label them, and place them carefully upright and side-by-side in the freezer. This makes it easy to run warm water over the bag later, and release my chunk of frozen broth into the cooking pot. Sometimes I will put the whole bowl of strained broth into the fridge to deal with it later. My beef broth always gels (which is a great sign), which makes portioning a little harder, but still I can scoop out portions with a thin-edged metal measuring cup.
Step 5: Use it.
Run warm water over the sealed bag or container until the frozen broth releases from the surface. Then open, squeeze up and plop the frozen broth into the pot. Add water if needed, and whatever you want to cook: quinoa, lentils, rice, soup, etc. I try to get broth into our dinners this way at least 3 times a week. More often, if I can.
Note:
You can re-use bones for a second batch of broth. These big bones (unlike little chicken bones) have plenty left to give, even after two days of simmering. Definitely consider saving bones from your pot for a second round. Just cool and pop them back into the freezer.
A trick:
If you are using ziplock freezer bags, and having trouble getting the broth in without making a mess, try this… fold over the top of the bag just a bit, all the way around, and flatten out the bottom of the bag. It will then sit on the counter with an open mouth, and you can pour into it.
Feel free to let me know if you have questions. You can do this, and I hope you will!
comments powered by Disqus